Adding a new menu element
You can add new menu items in the Vuely template by adding the item you want, in the src->store->modules->sidebar->data.js file. The example of this is given below:
 export const menus = {
     'message.general': [
         {
             action: 'zmdi-view-dashboard', //icon
             title: 'message.dashboard', // menu title
             active: true, // set active menu
             items: [
                 { title: 'message.ecommerce', path: '/default/dashboard/ecommerce', exact: true },
                 { title: 'message.webAnalytics', path: '/mini/dashboard/web-analytics', exact: true },
                 { title: 'message.magazine', path: '/horizontal/dashboard/magazine', exact: true },
                 { title: 'message.news', path: '/boxed-v2/dashboard/news', exact: true },
                 { title: 'message.agency', path: '/boxed/dashboard/agency', exact: true },
                 { title: 'message.saas', path: '/horizontal/dashboard/saas', exact: true }
             ] // childrens
         },
         {
             action: 'zmdi-widgets',
             title: 'message.widgets',
             active: false,
             items: [
                 { title: 'message.user', path: '/widgets/user-widgets' },
                 { title: 'message.charts', path: '/widgets/chart-widgets' }
             ]
         }
     ], // categories
     'message.modules': [
         {
             action: 'zmdi-email',
             title: 'message.inbox',
             active: false,
             items: null,
             path: '/inbox'
         },
         {
             action: 'zmdi-comments',
             title: 'message.chat',
             active: false,
             items: null,
             path: '/chat'
         }
     ]
 }
Change/Edit icons of the menu items
You can change or edit the icons of the menu items by just changing the value of the action key in the above example.
Change/Edit icons of the parent menu items in Horizontal Layout
All the other layouts use the above mentioned method for the icons but the parent menu items in the horizontal layout uses some different approach. To add icons for parent menu items in horizontal layout open src->components->AppHorizontalMenus.vue file, and name the icons for each category as defined below:-
export default {
  data() {
    return {
      categories:
        {
         'message.general': "zmdi zmdi-view-dashboard",
         'message.modules': "zmdi zmdi-widgets",
         'message.components':"zmdi zmdi-view-carousel",
         'message.applications': "zmdi zmdi-assignment-check",
         'message.features':"zmdi zmdi-wrench",
         'message.extensions':"zmdi zmdi-file"
       }
    }
  }
}
Note: Sub Menu(Child) items in the horizontal layout uses the same approach as other layouts are using. The above approach is only for the parent menu items not for the child menu items.
Adding route of the added element in different layouts
Default Layout
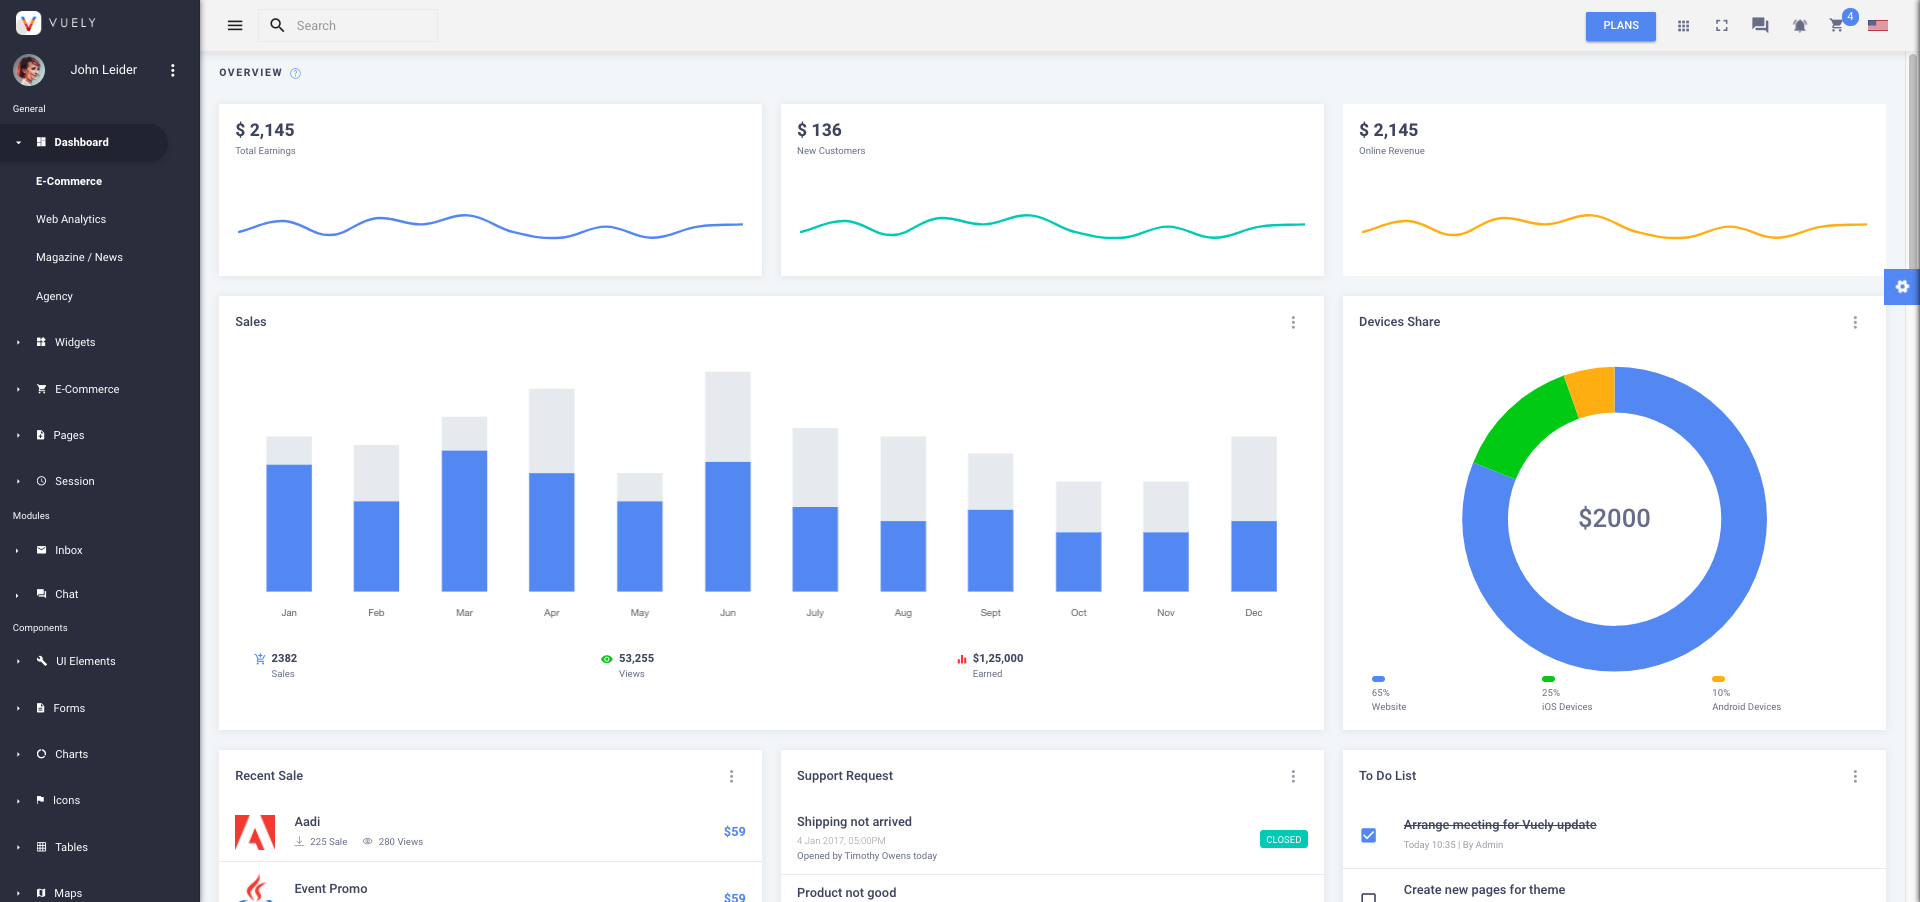
You need to define the route of newly added element in the src->router->default.js file. You can add the element in the children array. You can find the example below:
import Full from 'Container/Full'

// dashboard components
const Ecommerce = () => import('Views/dashboard/Ecommerce');

export default {
   path: '/',
   component: Full,
   redirect: '/default/dashboard/ecommerce',
   children: [
      {
         path: '/default/dashboard/ecommerce',  // path
         component: Ecommerce,                  // component
         meta: {
            requiresAuth: true,                 // to protect page
            title: 'message.ecommerce',         // page title
            breadcrumb: 'Dashboard / Ecommerce' // page breadcrumbs
         }
      }
   ]
}
Mini Sidebar
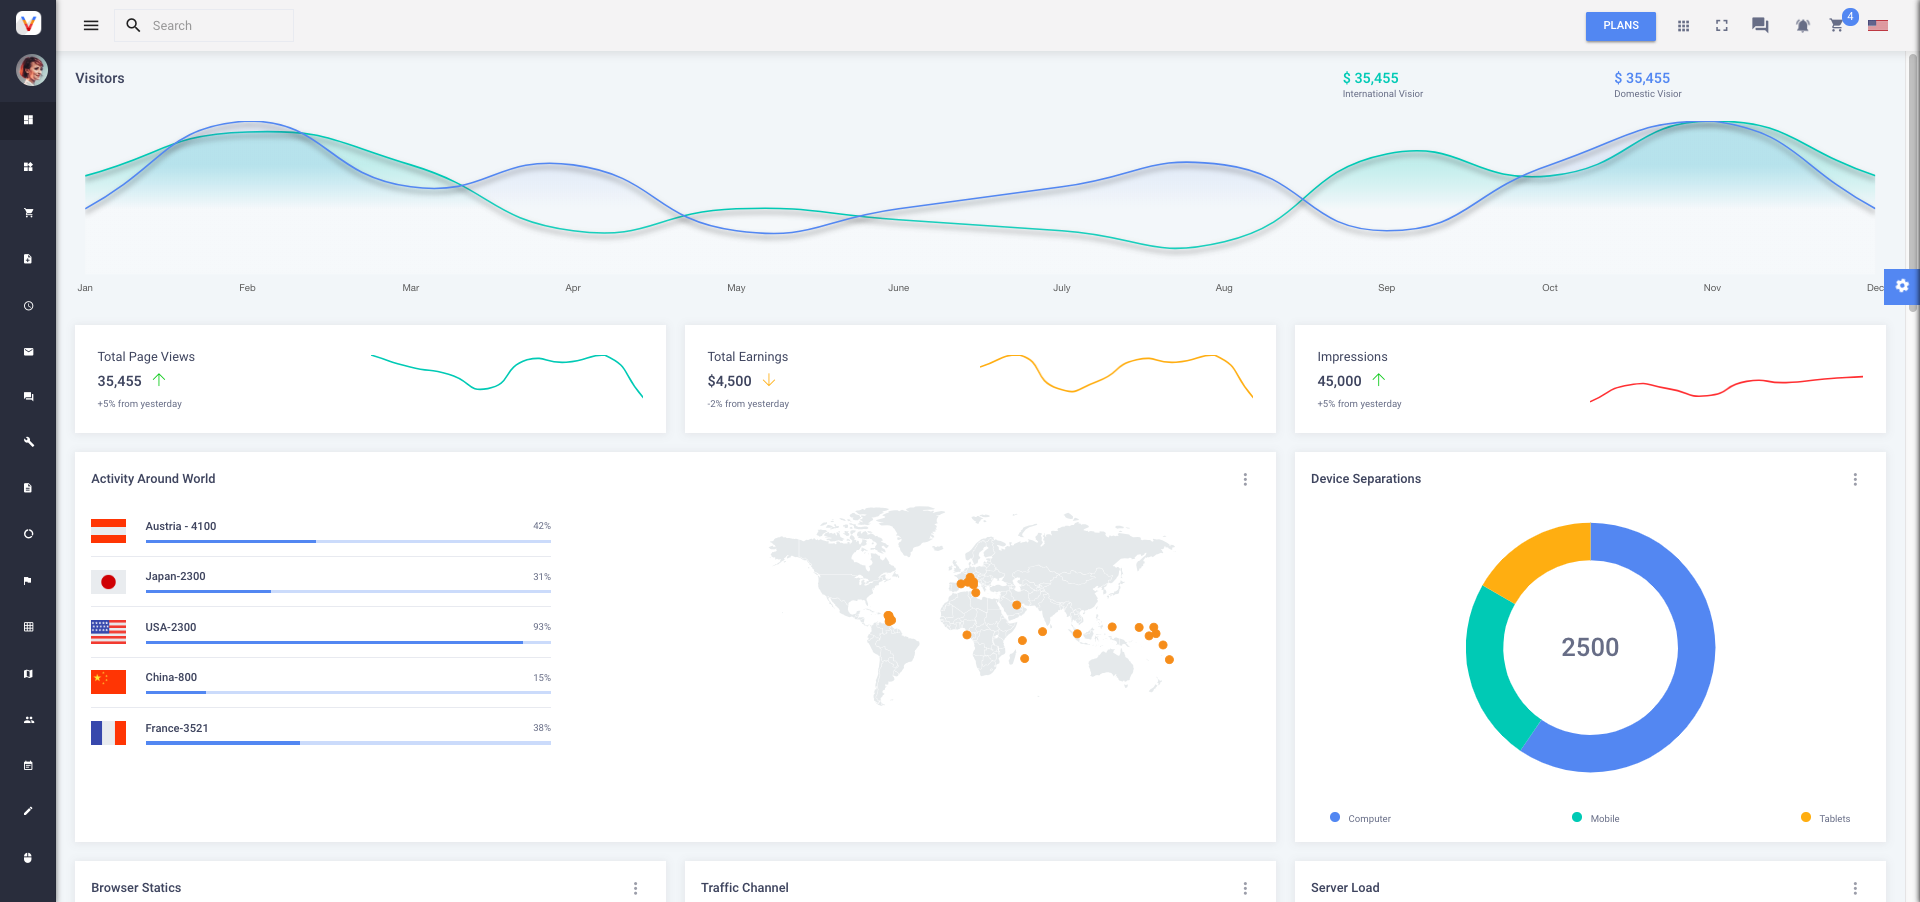
You need to define the route of newly added element in the src->router->mini.js file. You can add the element in the children array. You can find the example below:
import MiniSidebarLayout from 'Container/MiniSidebarLayout'

// dashboard components
const Ecommerce = () => import('Views/dashboard/Ecommerce');

export default {
   path: '/mini',
   component: MiniSidebarLayout,
   redirect: '/mini/dashboard/ecommerce',
   children: [
      {
         component: Ecommerce,
         path: '/mini/dashboard/ecommerce',
         meta: {
            requiresAuth: true,
            title: 'message.ecommerce',
            breadcrumb: 'Dashboard / Ecommerce'
         }
      }
   ]
}
Horizontal Menu
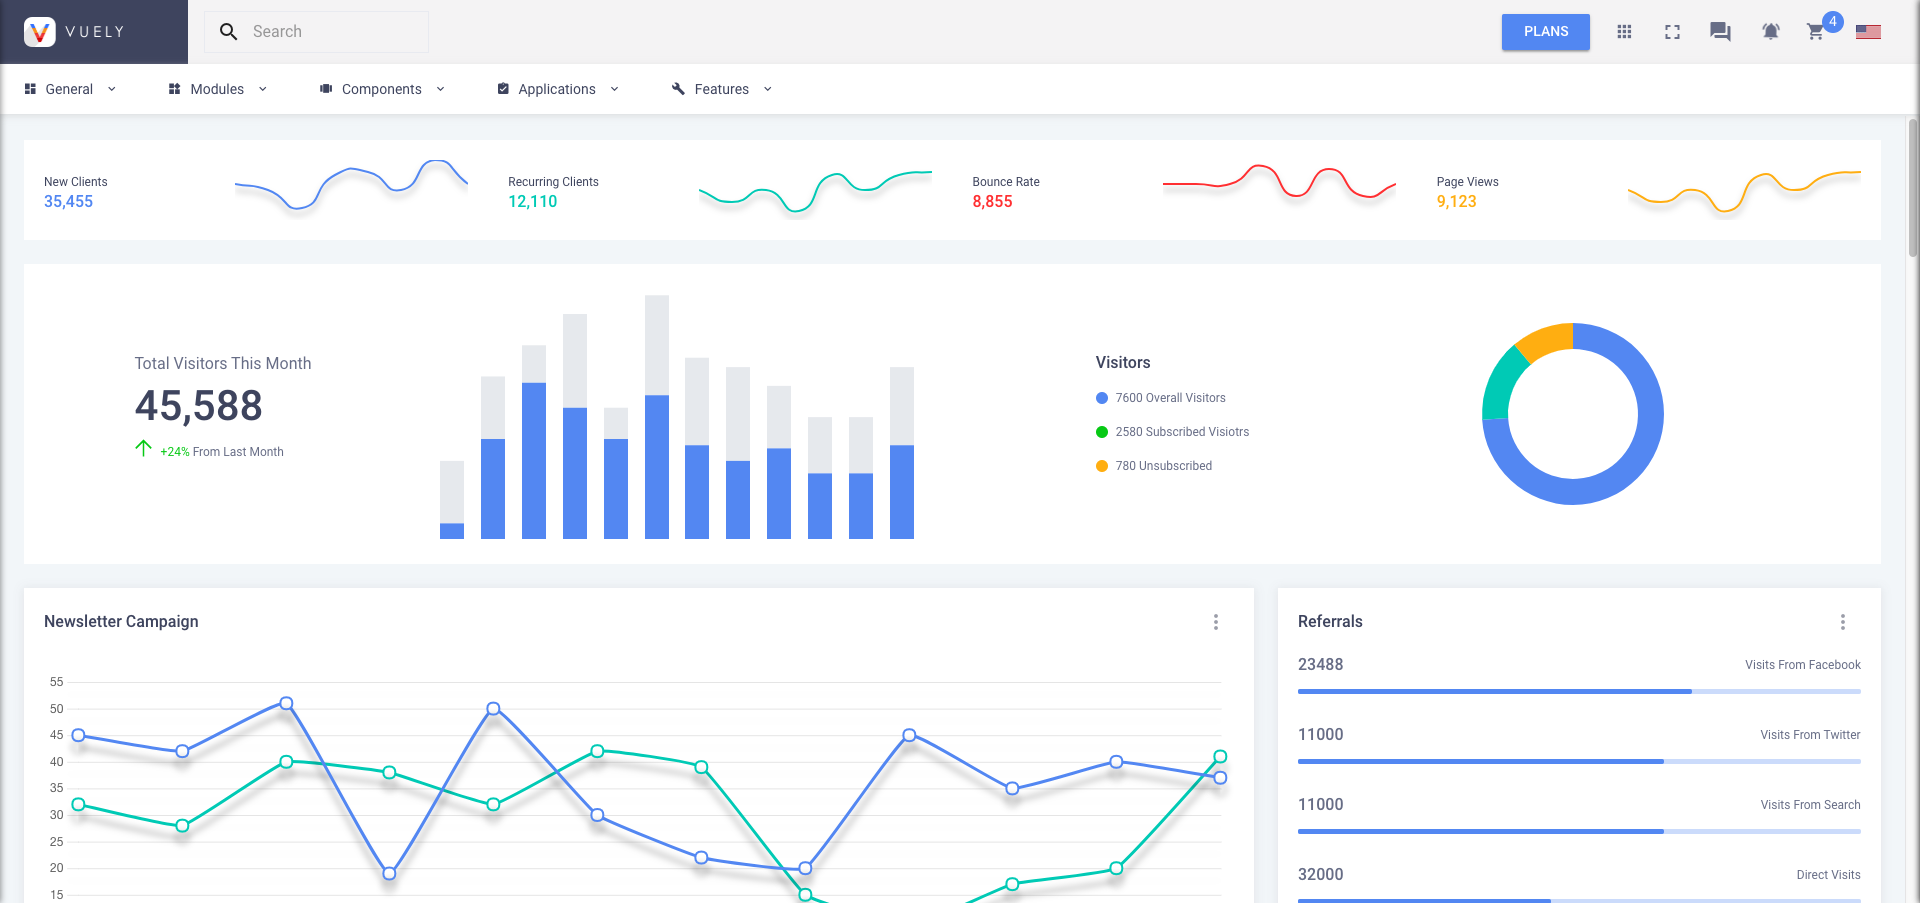
You need to define the route of newly added element in the src->router->horizontal.js file. You can add the element in the children array. You can find the example below:
import HorizontalLayout from 'Container/HorizontalLayout'

// dashboard components
const Ecommerce = () => import('Views/dashboard/Ecommerce');

export default {
   path: '/horizontal',
   component: HorizontalLayout,
   redirect: '/horizontal/dashboard/ecommerce',
   children: [
      {
         component: Ecommerce,
         path: '/horizontal/dashboard/ecommerce',
         meta: {
            requiresAuth: true,
            title: 'message.ecommerce',
            breadcrumb: 'Dashboard / Ecommerce'
         }
      }
   ]
}
Boxed
There are two versions for boxed layout: One is Boxed Agency Version, another is Boxed News Version. Below are the screenshots for both the boxed versions & the steps that needs to be followed to add new menu item in boxed versions.
Boxed Agency Version
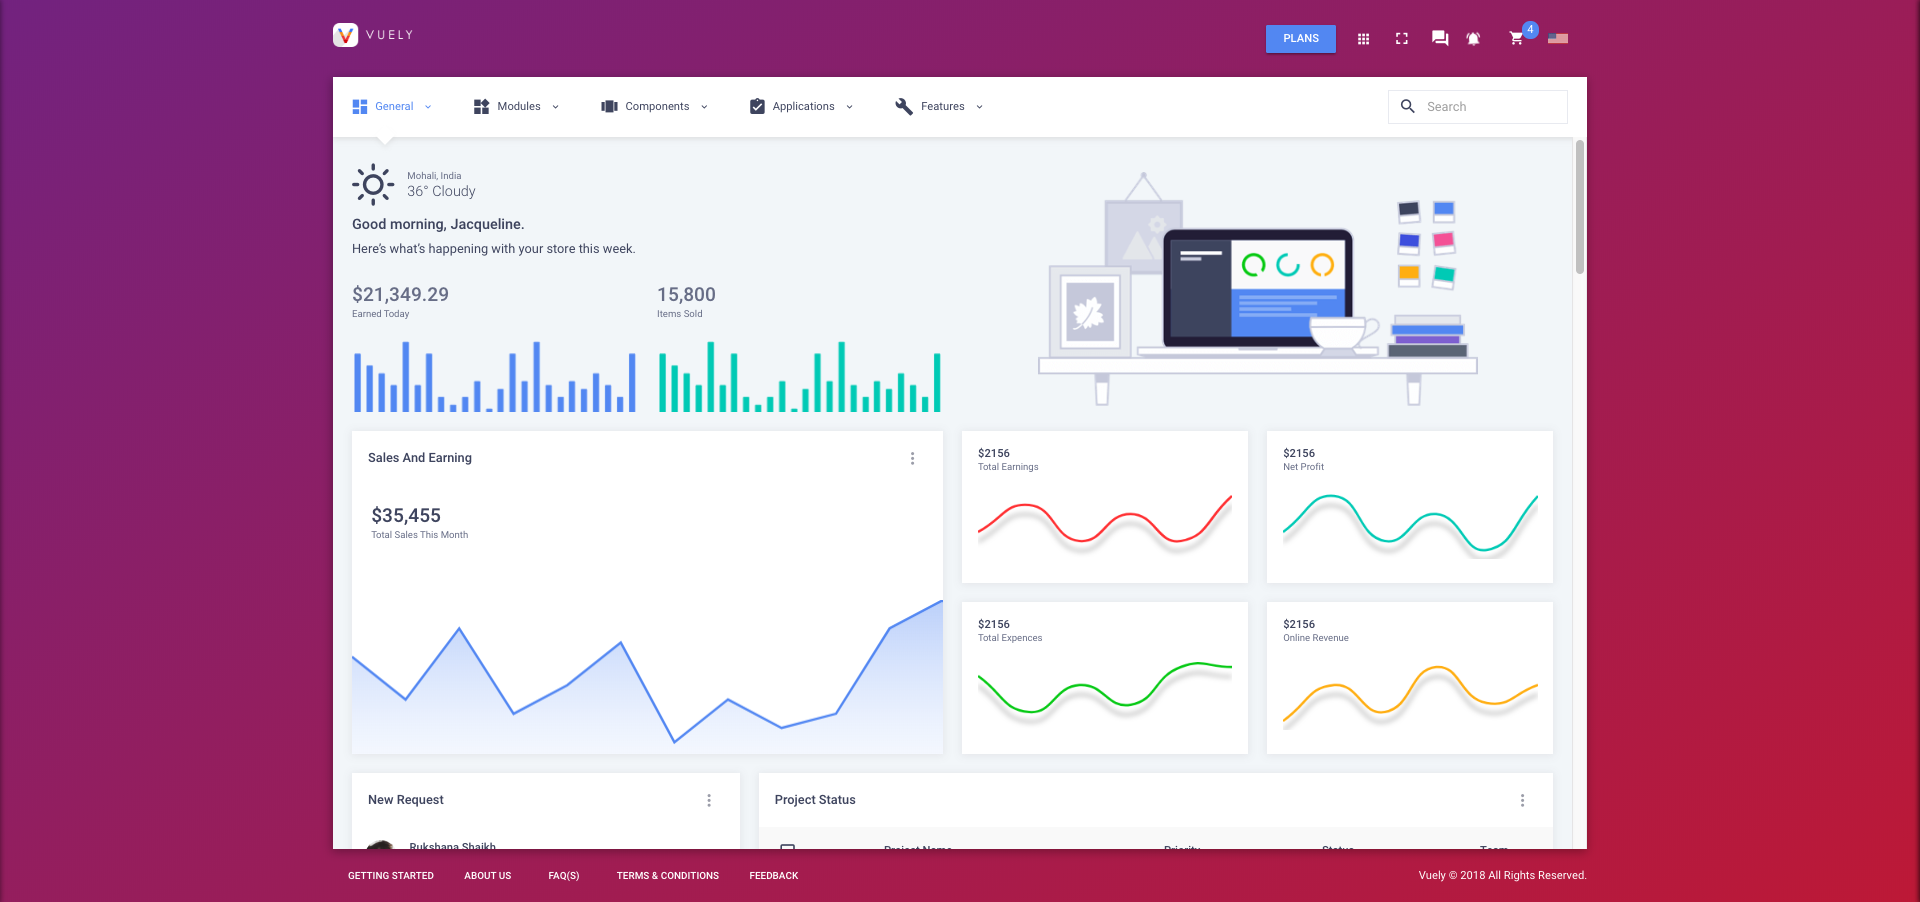
You need to define the route of newly added element in the src->router->boxed.js file. You can add the element in the children array. You can find the example below:
import BoxedLayout from 'Container/Boxed';

// dashboard components
const Ecommerce = () => import('Views/dashboard/Ecommerce');

export default {
   path: '/boxed',
   component: BoxedLayout,
   redirect: '/boxed/dashboard/ecommerce',
   children: [
      {
         component: Ecommerce,
         path: '/boxed/dashboard/ecommerce',
         meta: {
            requiresAuth: true,
            title: 'message.ecommerce',
            breadcrumb: 'Dashboard / Ecommerce'
         }
      }
   ]
}
Boxed News Version
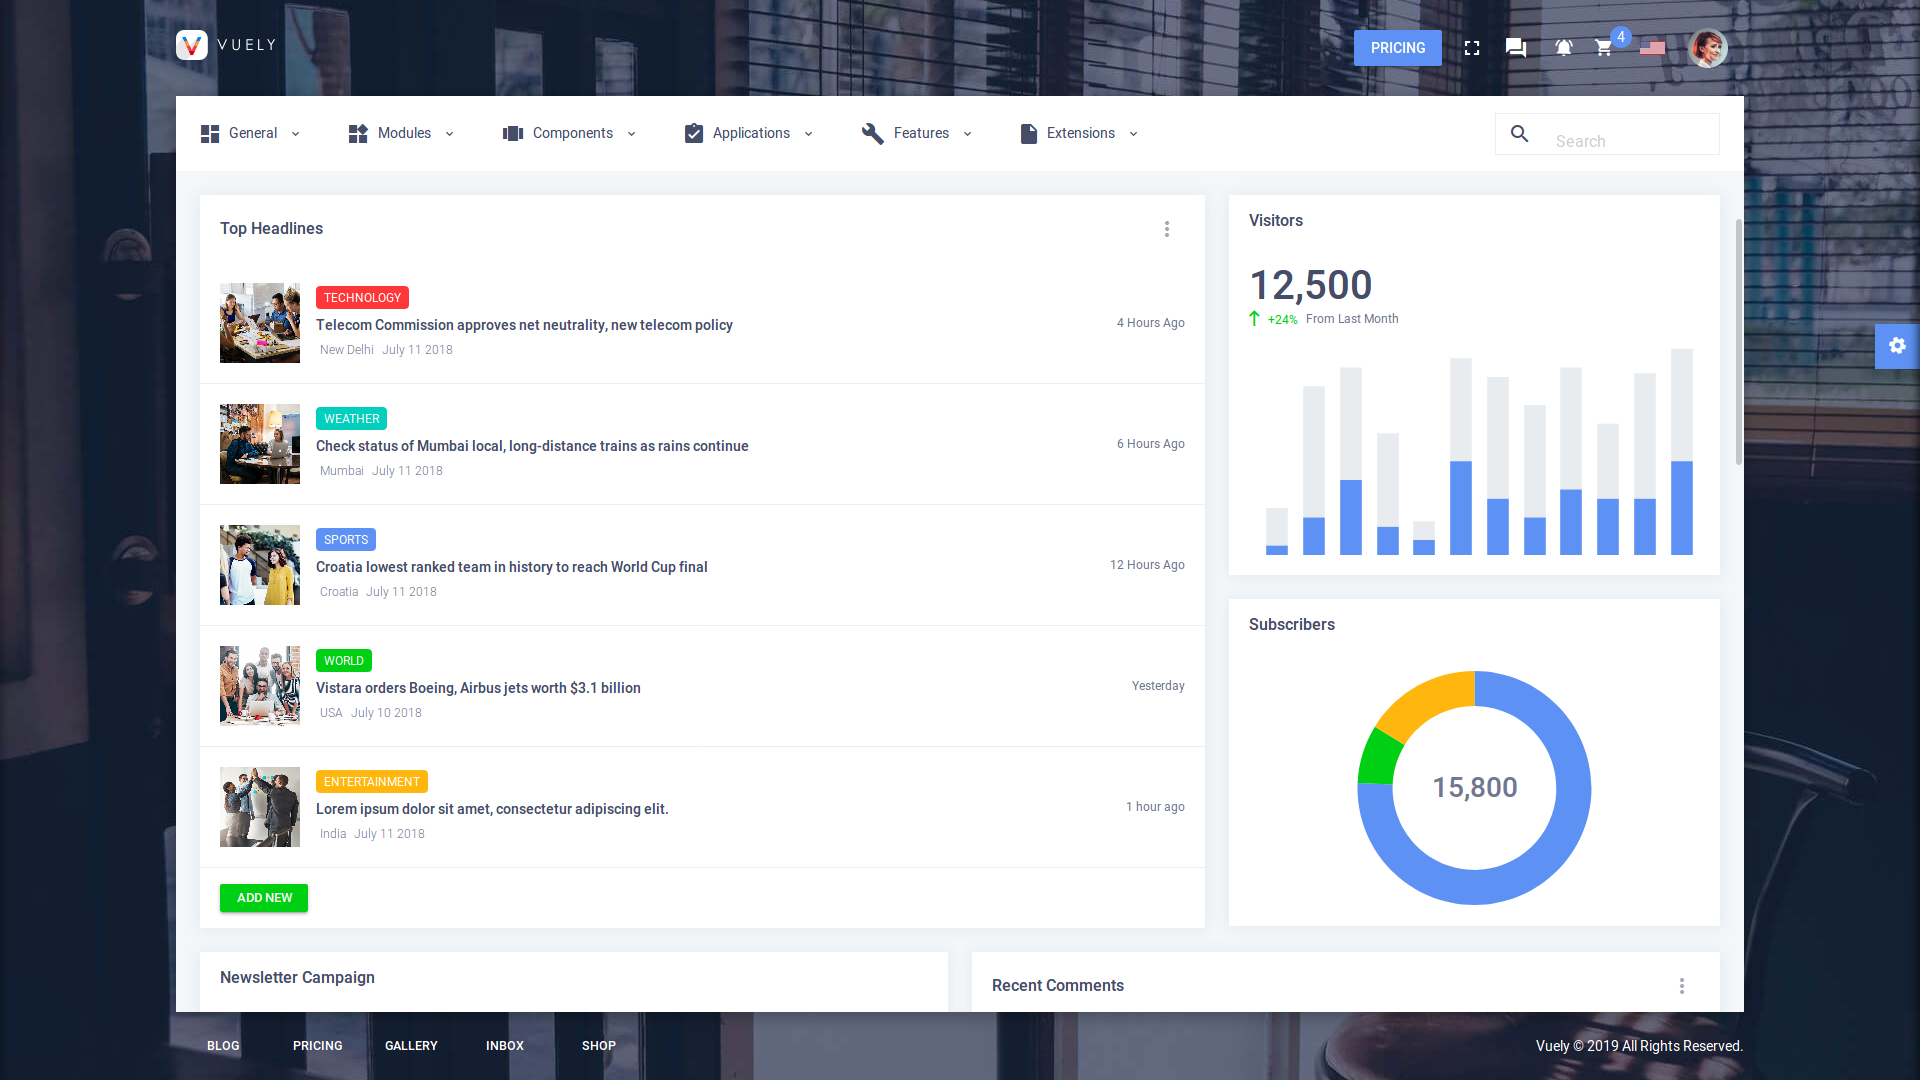
You need to define the route of newly added element in the src->router->boxed-v2.js file. You can add the element in the children array. You can find the example below:
import BoxedLayout from 'Container/BoxedV2';

// dashboard components
const Ecommerce = () => import('Views/dashboard/Ecommerce');

export default {
   path: '/boxed-v2',
   component: BoxedLayout,
   redirect: '/boxed-v2/dashboard/ecommerce',
   children: [
      {
         component: Ecommerce,
         path: '/boxed-v2/dashboard/ecommerce',
         meta: {
            requiresAuth: true,
            title: 'message.ecommerce',
            breadcrumb: null
         }
      }
   ]
}
